 how-to
Best Ways to Remove Paver Stains: 7 Proven Methods
Table of Contents
- Identify the Paver Stain Before You Clean
- How to Remove Organic Stains from Pavers
- How to Remove Oil Stains from Pavers
- The Best Cleaner for Concrete Pavers
- Pressure Washing Patio Pavers: When It Works and When It Damages
- Dilution, Dwell Time, and Test Patches
- Protect Joint Sand and Sealer After Cleaning
- Frequently Asked Questions
Last Updated: October 17, 2026
Identify the Paver Stain Before You Clean
The best ways to remove paver stains start with one step most people skip: figuring out what the paver stains actually are. A stain is a residue bonded to the paver surface, and each type needs a different approach. Clean a rust mark like an oil spot and you spread it. Scrub an oil spot with water and you push it deeper.
Here is the short version:
- Organic stains (leaves, algae, moss, mildew): green, black, or brown film, often in shade
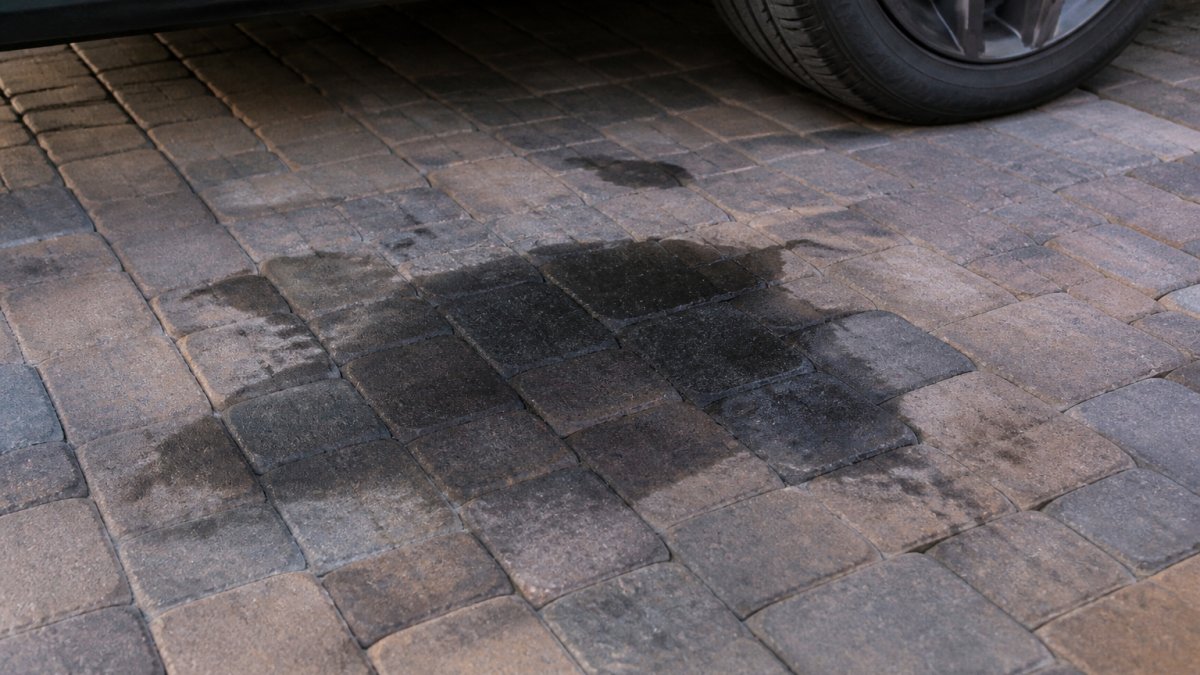
- Oil and grease stains: dark, slick patches near grills, cars, or patio furniture
- Rust stains: orange or brown, usually from metal furniture or fertilizer
- Dirt spots: gray-brown, lifted easily with soap and water
Match the treatment to the stain first.
How to Remove Organic Stains from Pavers
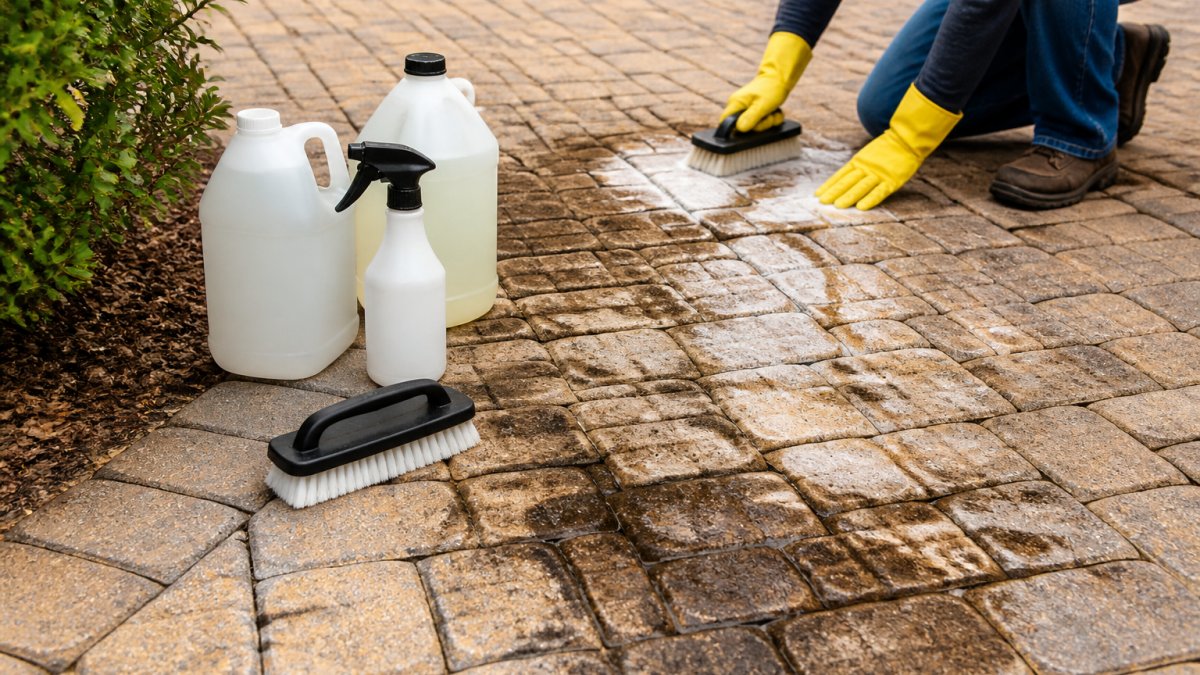
Organic stains from leaves, algae, and moss come off with the gentlest method first. Start with a simple water and dish soap mix, scrub, and rinse.
Follow this order:
- Sweep the area with a stiff broom to clear loose debris.
- Wet the pavers so the cleaner stays on the surface.
- Mix a few drops of mild dish soap into a bucket of warm water.
- Scrub the stain with a stiff brush, working in small circles.
- Rinse thoroughly and let the area dry.
For stubborn green or black growth, a specialized paver cleaner labeled for algae and mildew works well. Products like SRW Organic Stain Remover target organic growth specifically.
A common mistake is scrubbing dry pavers. Always wet the surface first, or you grind the debris into the pores.
How to Remove Oil Stains from Pavers
Oil and grease stains need an absorbent before any liquid touches them. Baking soda or kitty litter pulls the oil out of the paver. Water alone just spreads it.
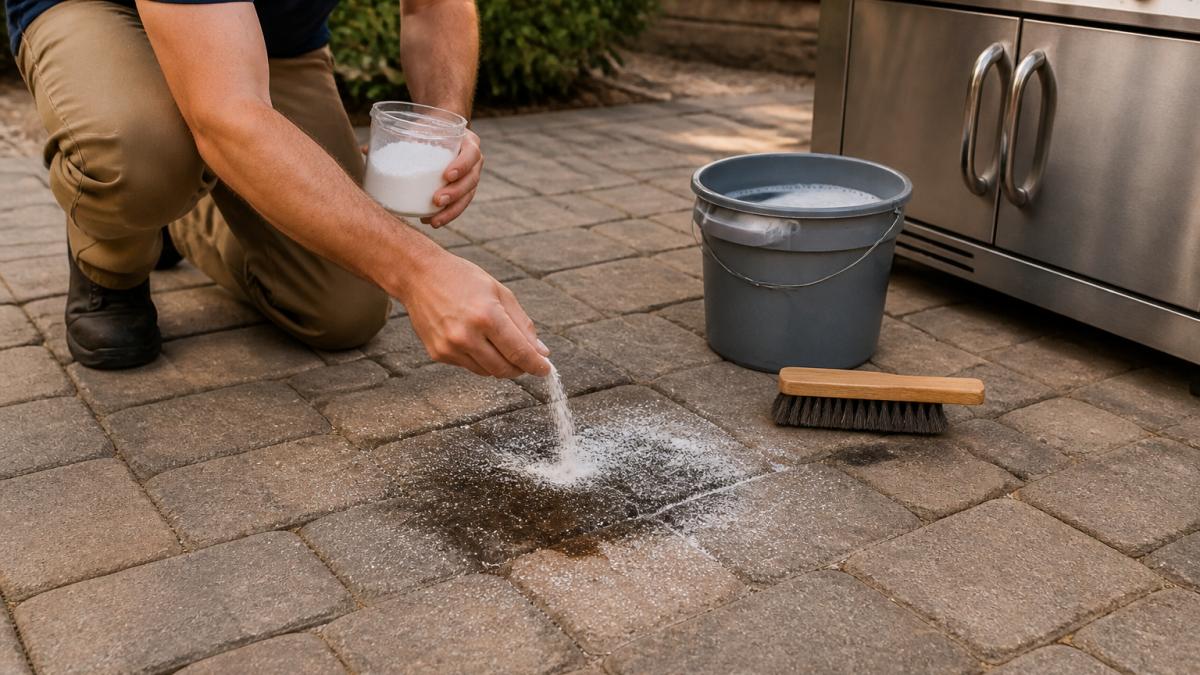
Here is how to remove oil stains from pavers:
- Blot fresh oil with a rag. Do not wipe, or you widen the stain.
- Cover the stain with a thick layer of baking soda or kitty litter.
- Wait several hours, ideally overnight, so the powder absorbs the oil.
- Sweep up the powder and check the stain.
- Scrub any remainder with a mild detergent and warm water.
- Rinse and repeat if needed.
For old, set-in oil, a degreaser labeled safe for concrete pavers helps. Test it on a hidden spot first. Baking soda also works as a mild scrub when mixed into a paste with water.
The Best Cleaner for Concrete Pavers
The best cleaner for concrete pavers is one matched to both the stain and the paver material. Mild dish soap handles most everyday grime. Specialized paver cleaners handle algae and mildew.
Match the cleaner to the job:
| Stain Type | First Try | Step Up To |
|---|---|---|
| Dirt and dust | Dish soap and water | Mild detergent |
| Algae and moss | Dish soap and water | Specialized paver cleaner |
| Mildew | Vinegar-water mix | OxiClean or Wet & Forget |
| Oil and grease | Baking soda absorb | Degreaser for pavers |
| Rust | Oxalic-acid rust remover | Professional treatment |
Before buying anything, check the paver material. Concrete pavers, clay brick, and natural stone each react differently. PROSOCO's paver cleaning guidance recommends identifying the paver material before choosing a cleaner.
Avoid muriatic acid unless a pro recommends it. It can etch the surface and strip color.
Pressure Washing Patio Pavers: When It Works and When It Damages
Pressure washing patio pavers works well for surface dirt, but it can damage the wrong surface. High pressure strips joint sand, etches soft pavers, and blasts away sealer. Used carefully, it is a fast way to reset a dirty patio. The difference between a clean patio and a ruined one comes down to pressure setting, nozzle choice, distance, and dwell time on each paver.
Set the machine before the wand touches the patio
Start low and work up. Most residential electric pressure washers top out around 1,800 to 2,300 PSI, and gas units run higher. You rarely need the top of that range for pavers.
Nozzle color matters as much as PSI. Use a 25-degree (green) or 40-degree (white) fan tip for pavers. Never use a 0-degree (red) or 15-degree (yellow) tip on pavers; those concentrate the stream and can carve lines, pit the surface, or strip sealer in stripes.
Technique that protects the surface and the joints
- Keep the wand moving. Hold it at a consistent distance, roughly 8 to 12 inches from the surface, and sweep in overlapping passes. Never hold it in one spot.
- Work at an angle, not straight down. A 45-degree approach pushes water and debris off the surface instead of driving it into the pores or joints.
- Pre-wet and pre-treat. Wet the pavers first, apply a paver-safe cleaner if needed, let it dwell per the label, then rinse. Pressure alone does not remove oil or rust.
- Rinse with the flow, not against it. Push debris toward a drain or lawn edge, and avoid blasting water into open joints.
- Watch the joint sand. If sand starts lifting, stop, lower the pressure, and switch to a wider tip. You can refill sand after cleaning, but repeated blasting widens joints and loosens pavers.
- Protect plants and surfaces. Cover nearby plants, sweep runoff away from storm drains where local rules require it, and never point the wand at windows, siding, or wood.
When to use it and when to skip it
- Good for: general dirt, embedded grime, prepping for sealer, and rinsing after a paver-safe cleaner has done the chemical work.
- Risky for: soft or older pavers, loose joint sand, sealed surfaces, and any paver with visible chips or cracks.
- Avoid on: natural stone that can flake (such as some sandstone or slate), painted or coated pavers, and any surface where the sealer is still curing.
A common mistake is pressure washing right after sealing. That strips the protective coat you paid for. Wait until the sealer needs a refresh, and follow the sealer manufacturer's recoat window. If your joints are already washed out, refill the sand before you seal. Interlocking Concrete Pavement Institute publishes guidance on joint sand and paver maintenance worth reading before you start.
Dilution, Dwell Time, and Test Patches
Every cleaner needs the right dilution, dwell time, and a test patch. Skip any of the three and you risk a faded or etched surface. This is the step most DIY guides leave out, and it is where most paver damage happens. The mechanism is simple: cleaners are formulated to work at a specific concentration for a specific contact time. Too strong, and the chemical attacks the paver or the sealer. Too weak, or rinsed too soon, and it never breaks the stain bond.
Dilution: follow the label, then measure
- Dish soap: a few drops per gallon of warm water is enough for everyday grime. More soap means more residue, not more cleaning power.
- Oxygenated bleach (sodium percarbonate): mix per the product label, typically around one scoop per gallon of warm water. Warm water activates it; cold water slows it down.
- Chlorine bleach: if a label calls for it, dilute per the label, usually no stronger than about 1 part bleach to 10 parts water for outdoor surface cleaning. Never mix it with acid, ammonia, or vinegar.
- Oxalic-acid rust removers: follow the label exactly. These are acidic and can etch concrete or dull natural stone if left too strong or too long.
- Concentrated paver cleaners: many are sold ready-to-use or as a concentrate. If concentrated, measure with the supplied cup rather than eyeballing.
Stronger is not better. Over-concentration is a common cause of white haze, color fade, and sealer breakdown.
Dwell time: set a timer
Dwell time is the minutes the cleaner stays wet on the surface before you scrub or rinse. Most paver-safe cleaners call for roughly 5 to 15 minutes. The rule is: do not let it dry. If the cleaner dries on the paver, it can leave a film or etch the surface. On a hot, sunny day, work in sections and mist the surface to keep it wet, or clean in the morning or evening.
- Too short: the cleaner never breaks the stain bond, and you scrub harder than you should.
- Too long: the cleaner attacks the paver, the sealer, or the joint sand.
- Drying out: the worst outcome. Rinse before it dries, even if that means working a smaller area.
Test patch: the five-step procedure
- Pick a hidden paver. A corner, an edge under a planter, or a spare paver from the install is ideal.
- Clean and dry it. The test patch should match the condition of the stained area.
- Apply the diluted cleaner at the label ratio and let it dwell for the label time.
- Scrub and rinse exactly as you plan to on the full patio.
- Let it dry fully, then compare. Look for color change, haze, etching, or sealer damage. If the test paver looks worse than its neighbors, stop and choose a gentler product or a lower concentration.
Protect Joint Sand and Sealer After Cleaning
Cleaning is only half the job. Joint sand and sealer protect the pavers from the next stain. Lose either one and stains return faster.
After cleaning and full drying:
- Refill joint sand if it washed out during cleaning.
- Let pavers dry completely, usually 24 to 48 hours.
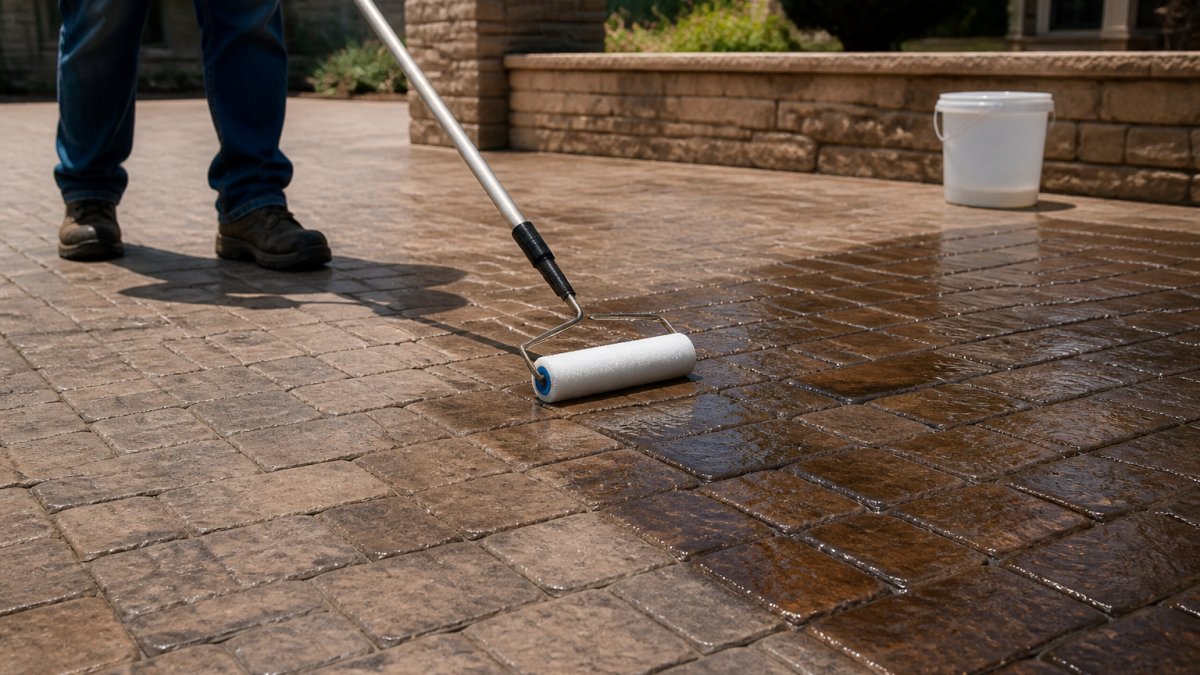
- Apply sealer in thin, even coats.
- Reapply every few years based on wear.
Sealer blocks oil, water, and organic growth from soaking in. Our paver sealing extends the life of your pavers and protects against stains, backed by our 100% satisfaction guarantee.
Stained pavers are not a lost cause. Match the method to the stain, test first, and seal after. That is how you keep a patio looking new.
Frequently Asked Questions
Will vinegar stain patio pavers?
A diluted vinegar-water mix is a common household option for light organic stains and mildew, and it usually will not stain most concrete pavers when used briefly and rinsed thoroughly. The risk comes from leaving acidic vinegar on the surface too long or using it at full strength, which can dull some finishes and weaken joint sand. Test a small hidden area first, keep the mix diluted, scrub lightly, and rinse with clean water when you're done.
What is the best way to remove oil stains from pavers?
Blot fresh oil first, then cover the stain with an absorbent like kitty litter or baking soda and let it sit for several hours to pull oil out of the pores. Sweep it up, apply a mild dish soap and warm water mix, scrub with a stiff brush, and rinse. For older, set-in oil stains on pavers, a paver-safe degreaser or a specialized concrete cleaner may be needed, and repeat treatments often work better than one heavy application.
Can you use a pressure washer to clean pavers?
Yes, but with care. Pressure washing patio pavers works well for built-up dirt, algae, and moss, but too much pressure can pit the surface, strip sealer, and blast out joint sand. Use a wide fan tip, keep the wand moving, hold it at a consistent distance, and work in sections. If the pavers are sealed or the joints are fresh, lower the pressure or skip the pressure washer and use a brush and diluted cleaner instead.
How do you remove rust stains from patio pavers?
Rust needs a different approach than oil or organic stains. Professional-grade rust removers often contain oxalic acid, which targets the iron that causes the orange-brown color. Apply according to the label, keep dwell time short, scrub if needed, and rinse thoroughly. Never mix rust removers with bleach or other cleaners, and test on a hidden paver first because some products can lighten certain paver colors.
Stubborn stains and worn sealer are a challenge most homeowners would rather hand off. Task Genie handles professional paver sealing and exterior property care for homes and businesses across the West Valley. We use professional-grade equipment and premium products, show up on a reliable schedule, and back every job with our 100% satisfaction guarantee. Get a free quote from Task Genie and protect your pavers before the next stain sets in.