 how-to
5 Ways Paver Sealing Fails to Remove Oil Stains
Last Updated: October 25, 2026
Quick Summary
Paver sealing oil stains does not remove oil stains. Sealer forms a protective film on the surface but cannot pull oil out of the paver's pores. You must clean and remove oil completely before sealing, or the stain will be trapped permanently underneath.
- Sealing over existing oil stains traps the contamination and makes it nearly impossible to remove without stripping the sealer first.
- The correct sequence is to clean the oil stain completely, allow the paver to dry fully for 24-48 hours, then apply sealer for future protection.
- Fresh oil spills under 24 hours old should be absorbed with cat litter or absorbent granules, then cleaned lightly with a paver-safe degreaser.
- Pressure washing should not exceed 1,500 to 2,000 PSI to avoid stripping joint sand and driving oil deeper into the paver.
- If a stain remains visible after three cleaning attempts, replacement of the paver is the better option than sealing over it.
Table of Contents
- Does Paver Sealing Remove Oil Stains? The Honest Answer
- Why You Need to Remove Oil Before Sealing
- How to Remove Oil Stains From Pavers: A Step-by-Step Approach
- Tackling Dried Oil Stains on Pavers
- Sealing Pavers After Cleaning: What You Need to Know
- When to Replace Pavers Instead of Cleaning
- Get Professional Paver Cleaning and Sealing
- Frequently Asked Questions
Does Paver Sealing Remove Oil Stains? The Honest Answer
Paver sealing oil stains is not an oil stain removal method. According to Dr. Pavers Design guidance on paver maintenance, sealer does not clean existing contamination.
Here's the distinction: sealing can make an oil stain less noticeable visually, but that's not the same as removing it. The stain is still there underneath.
Below, we'll show you exactly how to remove oil stains from pavers and when sealing actually makes sense for protection.
Why You Need to Remove Oil Before Sealing
Sealing pavers after an oil spill creates a serious problem. The sealer traps the oil stain beneath the surface.
Think of it this way: sealing locks in whatever condition the paver is in. If oil is present, sealing preserves that oil stain permanently.
The correct sequence is always:
- Clean and remove the oil stain completely
- Allow the paver surface to dry fully
- Apply paver sealing for protection against future stains
This order matters. Skipping the cleaning step means your sealed pavers will have permanent stains underneath a protective layer you can't easily reverse.
How to Remove Oil Stains From Pavers: A Step-by-Step Approach
Removing oil stains from pavers is not a single recipe. The right approach depends on the paver material, the age of the stain, and how deep the oil has penetrated. The steps below give you a decision tree you can follow from fresh spill to stubborn set-in stain, with material-specific cautions along the way.
First, identify your paver material
Concrete, clay, and natural-stone pavers react differently to cleaners. Before you apply anything, confirm what you are working on:
- Concrete pavers are the most forgiving. They tolerate alkaline degreasers and mild acids, but strong acids can etch the surface if left too long.
- Clay pavers are dense and colorfast, but acidic cleaners can dull the finish. Stick to pH-neutral or mildly alkaline degreasers.
- Natural-stone pavers (including travertine, limestone, and sandstone) are the most sensitive. Avoid acidic cleaners and harsh solvents; use stone-safe degreasers and test in an inconspicuous area first.
If you are unsure, test a small drop of cleaner on a spare paver or in a corner and wait 10 minutes. Discoloration or bubbling means stop.
Decision tree: match the treatment to the stain
Fresh spill (under 24 hours): Absorb first, then clean lightly. Most of the oil is still on the surface.
Set-in stain (1-7 days): The oil has started to penetrate. You need a degreaser with dwell time and mechanical scrubbing.
Old or stubborn stain (over a week, or still visible after two cleanings): Move to stronger commercial degreasers, longer dwell times, and possibly a poultice. If the stain remains after three attempts, consider replacement.
Step 1: Absorb fresh oil immediately
Act within the first few hours. Spread a clay-based absorbent (cat litter works well), sawdust, or commercial oil absorbent granules generously over the spill. Let it sit 15-30 minutes, then sweep it up and dispose of it properly. Do not rinse yet, you are removing loose oil, not cleaning the pore structure.
Step 2: Apply a paver-safe cleaner with the right dilution
Choose a cleaner based on material and stain severity:
- Mild stains on any paver: A few drops of dish soap in a bucket of hot water. No precise ratio is needed, just enough to create light suds.
- Moderate stains on concrete or clay: A laundry detergent solution (about 1 tablespoon per gallon of hot water) or a commercial paver degreaser mixed per label directions.
- Set-in stains on concrete: An alkaline degreaser or a product containing sodium metasilicate. Follow the label; typical dilution is 1 part cleaner to 4-10 parts water.
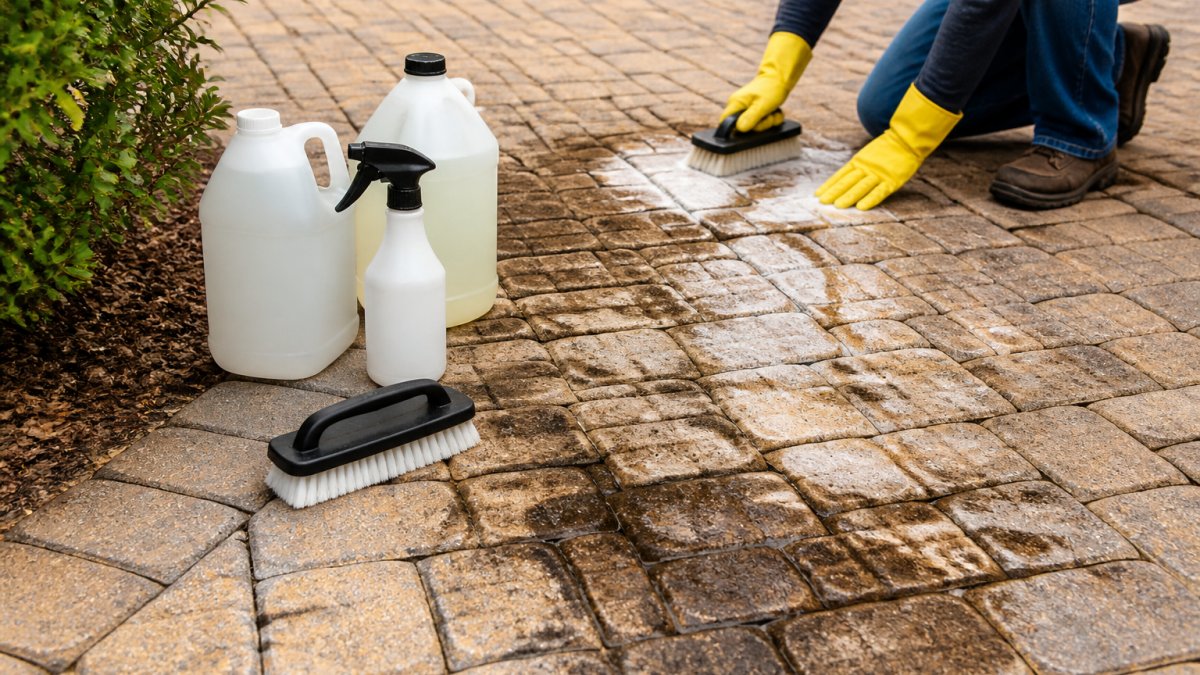
Apply the solution generously to the stained area. Do not skimp on coverage, dry edges will not clean.
Step 3: Respect dwell time and scrub methodically
Dwell time is where most DIY attempts fail. Let the cleaner sit for 10-20 minutes for fresh stains, 30 minutes for set-in stains, and up to an hour for old stains (check the label for maximum safe dwell time).
Scrub with a stiff-bristled brush using firm, circular motions for 2-3 minutes. For textured pavers, use a brush with shorter bristles to reach into the surface. Repeat the apply-dwell-scrub cycle rather than scrubbing harder, multiple gentle cycles outperform one aggressive scrub.
Step 4: Rinse thoroughly and manage runoff
Rinse with a garden hose or a pressure washer on low to medium setting. Start at the top of the stain and work downward. If using a pressure washer, keep the nozzle at least 12 inches from the surface and never aim directly at joint sand.
Rinse until the water runs clear. Allow the paver to dry completely, typically 24-48 hours, before inspecting or sealing.
Step 5: Inspect before you seal
After drying, look at the stain from different angles and in direct sunlight. A faint shadow may remain even after successful cleaning. If the paver still looks dark or feels oily, repeat the cleaning cycle.
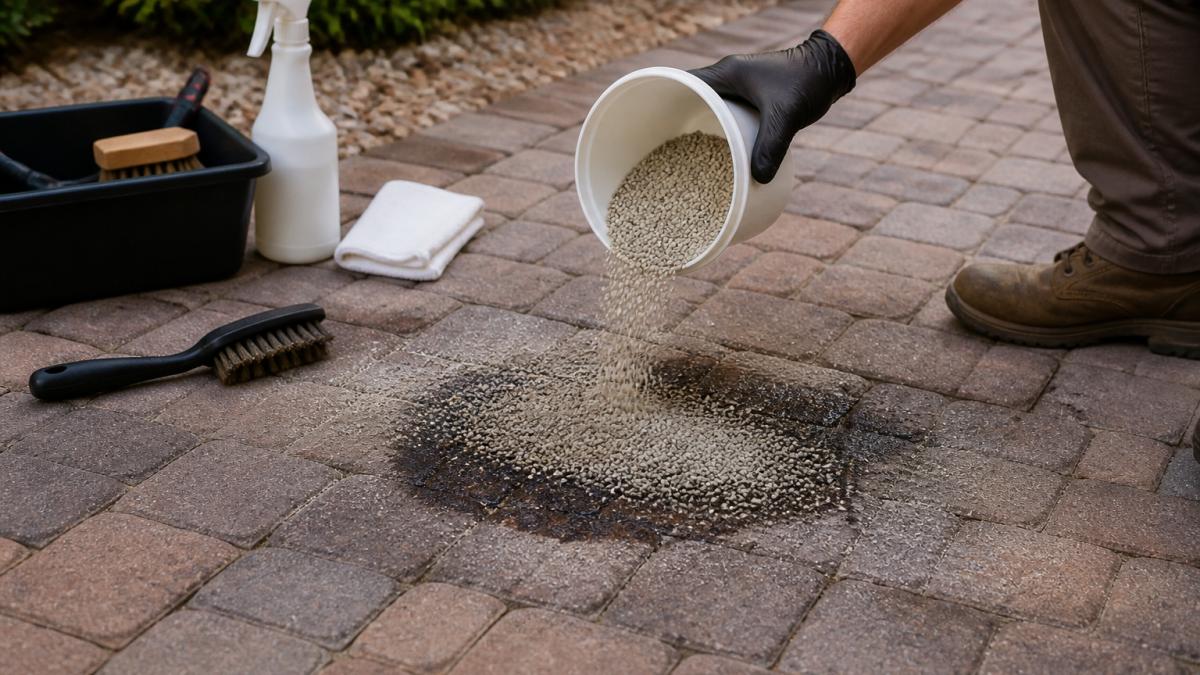
The right cleaning approach depends on how long the oil stain has been present and how deep it has penetrated.
| Stain Age | Time Since Spill | Cleaning Method | Key Action |
|---|---|---|---|
| Fresh spill | Under 24 hours | Absorb then clean lightly | Most oil still on surface |
| Set-in stain | 1-7 days | Degreaser with dwell time | Oil has started to penetrate |
| Old or stubborn | Over a week | Strong commercial degreasers | Consider replacement if unsuccessful after three attempts |
Tackling Dried Oil Stains on Pavers
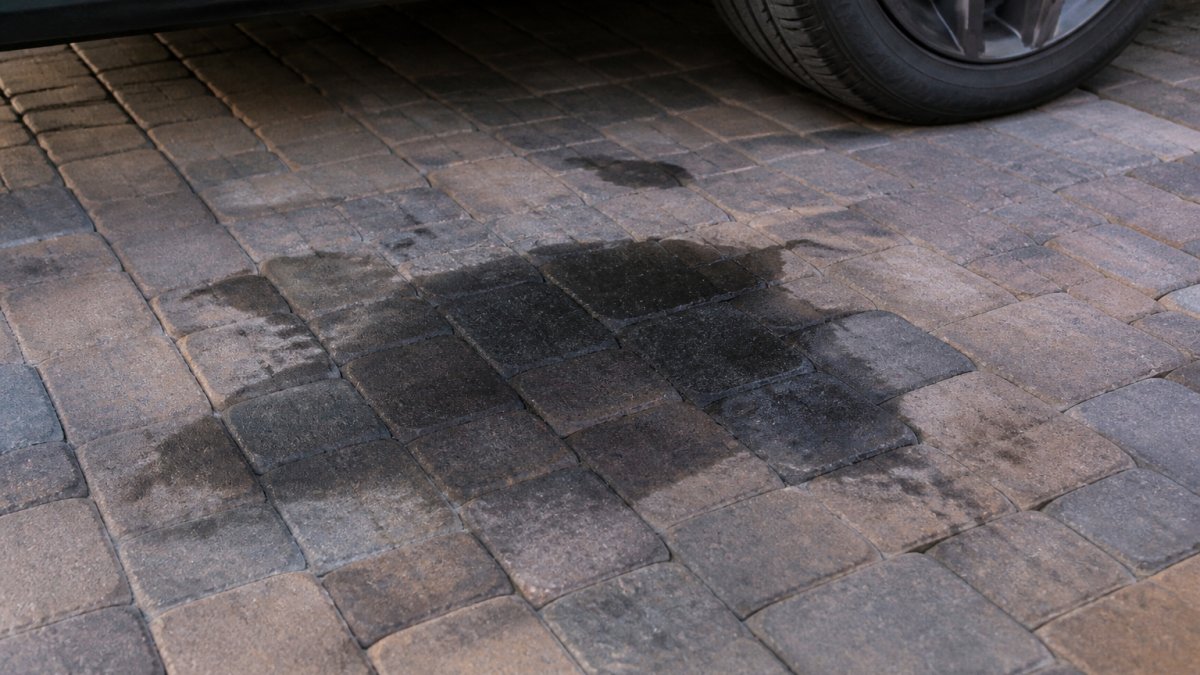
Old oil stains are harder to remove because the oil has penetrated deeper into the paver.
For dried stains, use a commercial oil stain remover or degreaser designed for concrete and pavers.
Apply the product, let it sit, then scrub hard with a stiff brush.
A pressure washer helps with dried stains, but use it carefully.
Some very old or deep stains may not fully disappear.
Sealing Pavers After Cleaning: What You Need to Know
Paver sealing oil stains does not remove oil stains. This is the single most important point to understand before you buy a sealer.
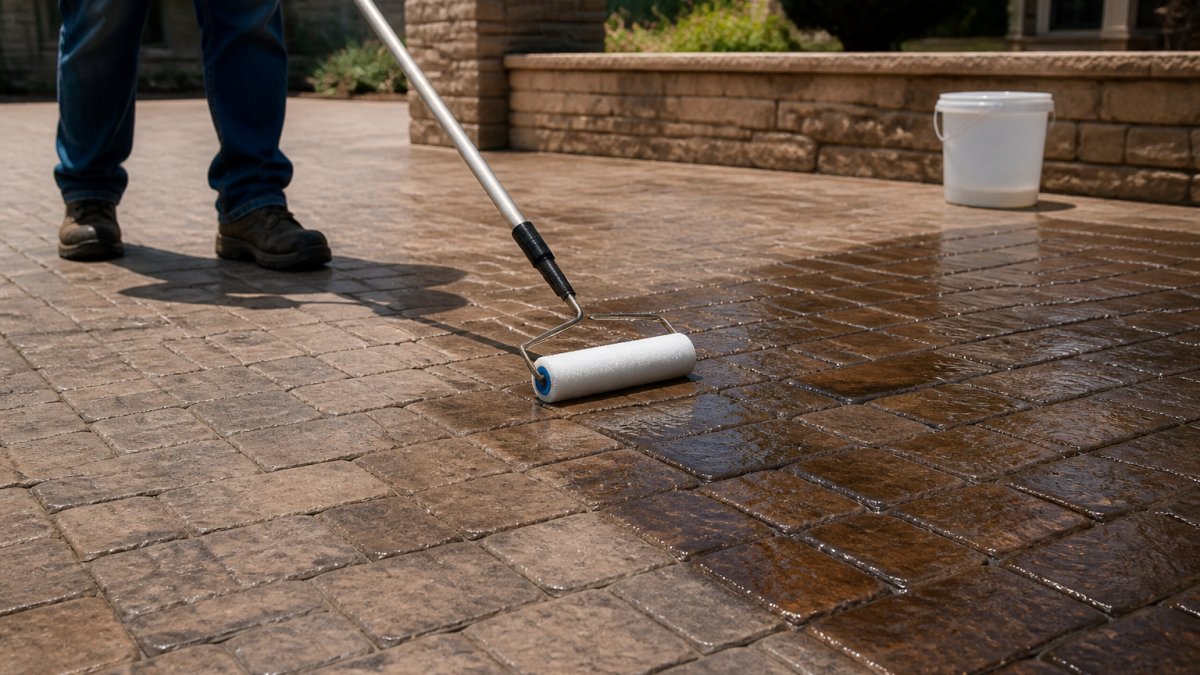
What sealing can do is protect a clean, dry paver from future stains. It creates a barrier that keeps oil, grease, and dirt near the surface so they can be cleaned up more easily. It also reduces how deeply future spills penetrate.
The inspection step competitors skip
Before sealing, inspect the paver after it has dried for at least 24-48 hours. Look at the stain in direct sunlight and from a low angle.
A simple test: pour a small amount of water on the cleaned area. If it beads uniformly, the surface is clean enough to seal. If it soaks in unevenly or shows dark patches, clean again.
Choose a sealer compatible with your paver material
Not all sealers work on all pavers. Concrete pavers typically accept acrylic or polyurethane sealers. Clay pavers often do best with breathable, penetrating sealers. Natural stone may require a specific stone sealer to avoid darkening or trapping moisture. Ask the sealer manufacturer for compatibility with your exact paver type, and always test a small area first.
Application conditions matter
Apply sealer when the paver is completely dry, the temperature is between 50°F and 80°F, and rain is not expected for 24-48 hours. Avoid applying in direct sun or on windy days, which can cause uneven curing. Follow the label for coverage rates, most sealers cover 100-200 square feet per gallon, depending on porosity and texture.
What sealing will not fix
- Deep, old oil stains that remain visible after cleaning
- Stains that have penetrated through the paver to the base
- Cracked or damaged pavers
- Joint sand that has washed out (repair joint sand before sealing)
If a stain remains obvious after three cleaning attempts, sealing will not hide it, it may make it look worse. In that case, replacement of individual pavers is the better path.
You can explore our professional paver sealing services to learn what the process involves and how professional-grade application differs from DIY sealing.
When to Replace Pavers Instead of Cleaning
Some oil stains are too old or too deep to remove.
Signs it's time to replace:
- The stain covers a large area of the paver
- The paver itself is cracked or damaged
- The stain has penetrated so deeply that cleaning leaves it still visible
- The paver is already loose or failing for other reasons
Replacing one or a few pavers is more affordable than most people expect. A professional can remove the stained paver, prepare the base, and install a new one to match.
If multiple pavers are stained or damaged, a larger replacement section may be necessary. At that point, the decision depends on the extent of damage and your budget.
Get Professional Paver Cleaning and Sealing
Removing oil stains and sealing pavers correctly takes time and the right products.
Task Genie specializes in paver sealing and cleaning for both residential and commercial properties. We remove existing stains safely, then apply professional-grade sealer to protect your pavers.
We handle the entire process: stain removal, surface preparation, drying time, and sealing application. You get pavers that are clean, protected, and ready to resist future stains.
Get a free quote for professional paver cleaning and sealing. We'll assess your pavers, identify the best approach for your specific stains, and provide pricing based on the actual work needed. Learn more about our commercial paver sealing services if you manage a business property.
Frequently Asked Questions
Does paver sealing remove oil stains?
No. Paver sealing does not remove existing oil stains; it only prevents future stains from setting as deeply. Sealer sits on the surface and can make an old stain appear less noticeable, but the oil remains beneath. You must clean the stain completely before sealing for best results.
What's the best oil stain remover for pavers?
Paver-safe degreasers designed for concrete and stone are most effective. Dish soap mixed with hot water works for light stains, while stronger commercial degreasers handle heavy contamination. Always test any cleaner on an inconspicuous area first to ensure it won't damage or discolor your paver material.
Can dried oil stains on pavers be removed?
Yes, but they require more time and effort than fresh spills. Older stains need a longer dwell time, allow the degreaser to sit for 30 minutes to several hours. For stubborn dried stains, a pressure washer at moderate pressure combined with degreaser can help, but be cautious not to damage the paver surface or joint sand.
How long should I wait before sealing pavers after cleaning?
Allow pavers to dry completely, typically 48-72 hours depending on humidity and weather. Wet or damp pavers trap moisture under the sealer, which can cause discoloration and reduce sealer effectiveness. Check that the surface is bone-dry and any cleaning residue is gone before applying sealant.
Oil stains on pavers are removable, but sealing alone won't do it. Clean first, seal second. This two-step approach protects your investment and keeps your pavers looking their best. If you'd rather leave it to professionals, Task Genie handles the entire process with the care and expertise your pavers deserve.